throughout this series of blogs, I will detail how to setup up a windows server for various lab scenarios. the main goal here is supporting authentication using 802.1X with methods like EAP-PEAP and EAP-TLS. however, you can also use this setup to authenticate network devices including switches, firewalls, routers.
Just to make things clear, I’m not a Microsoft server expert, the following steps are based on my own experience installing windows severs in a lab environment. It’s strongly recommended to refer to Microsoft’s official documentation before you run this in your production environment.
Checklist:
- Windows Server 2019 (or other versions) is installed
- The windows OS is up to date
- You have configured a fixed IP address
- Time is configured properly
in our lab, the windows server installed as a virtual machine hosted on Vmware.
First, we need to install the Active Directory role then promote the server to a domain controller, simply use server manager as shown:
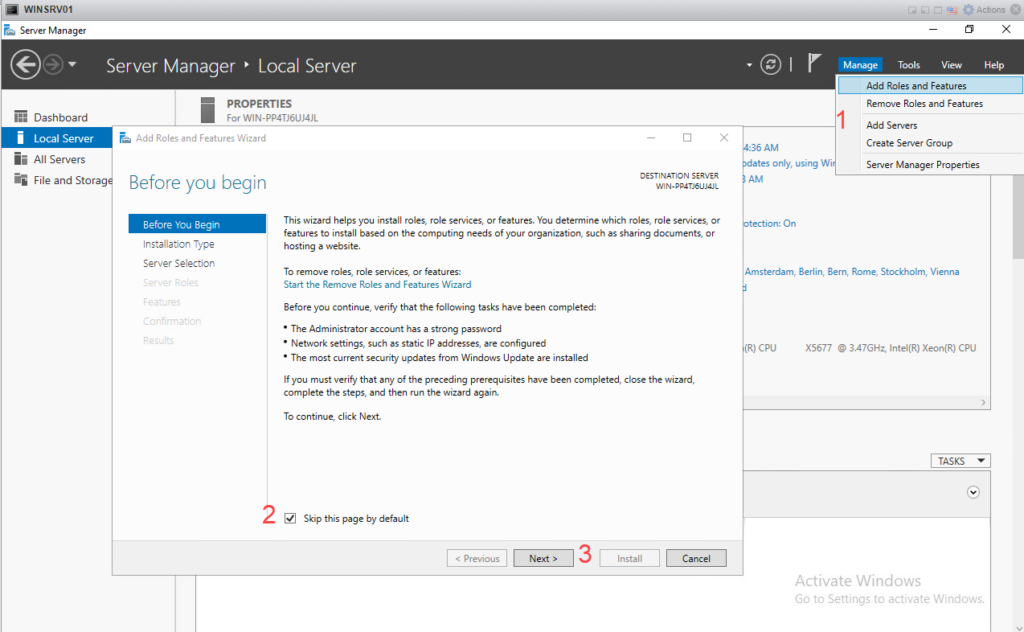
Personal note: I’ve struggled enough time in the past with server names, especially in more advanced steps. So first thing first, change the server name to something easy for your setup. Also, avoid underscore (_) if you plan to use the server as Root CA.
Next: Select Role-Based or Feature-based installation and click next
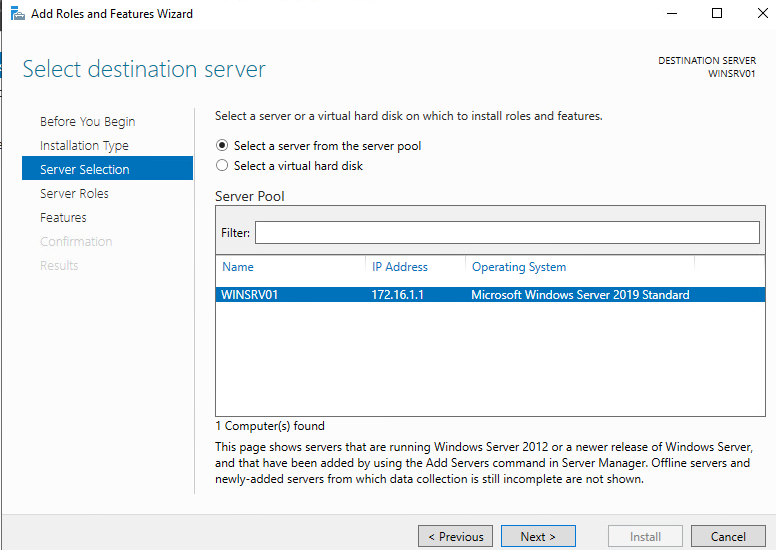
Next: choose the destination server name and click next
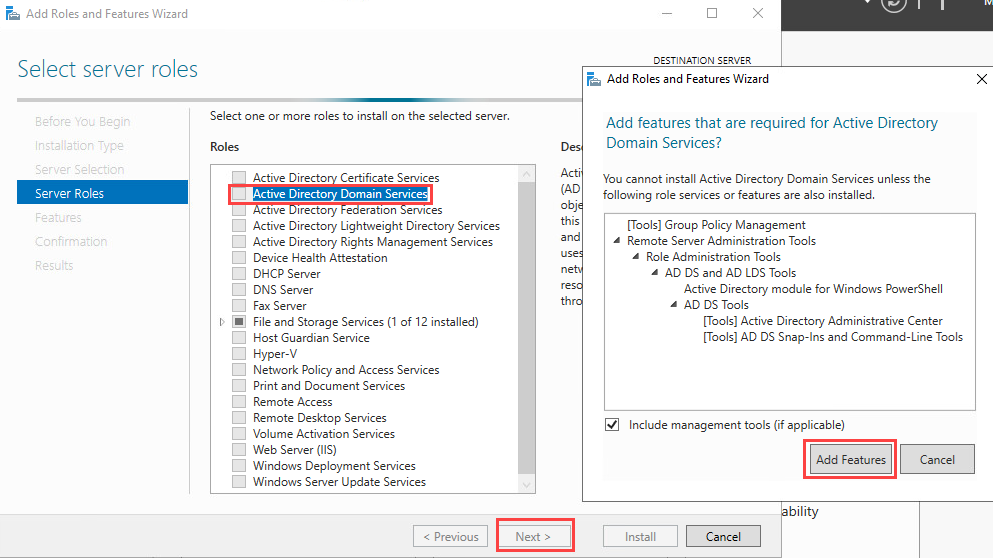
Next: select the Active Directory Domain Services. add the required features and click next.
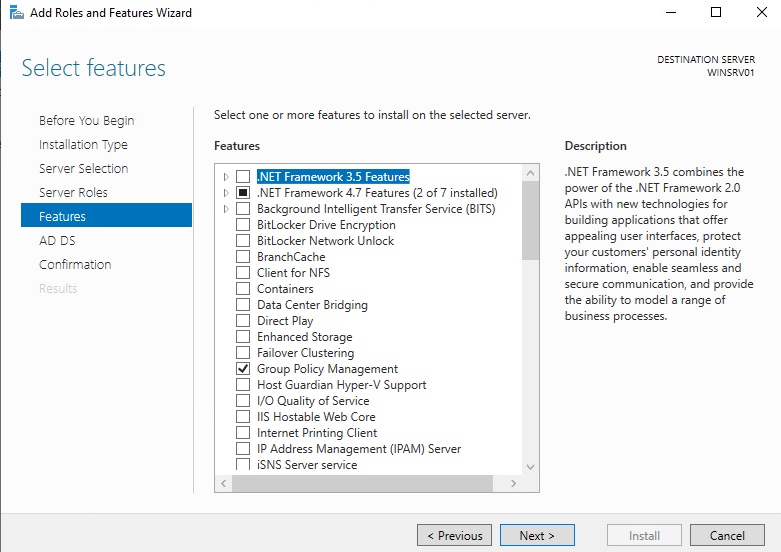
Next: click next on the next screen, we will come later and add the required features when installing the CA.
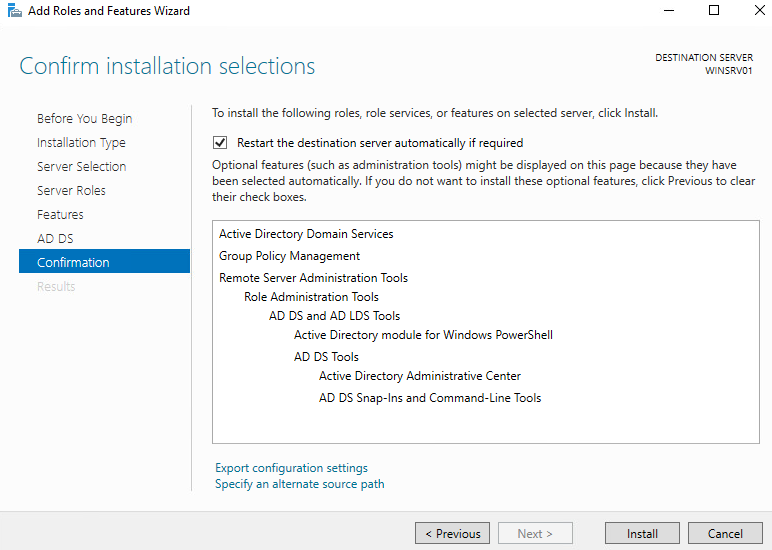
Next: click next and get to the confirmation page then click install. I like to check the auto-restart option at this screen to save me some time while switching to another task.
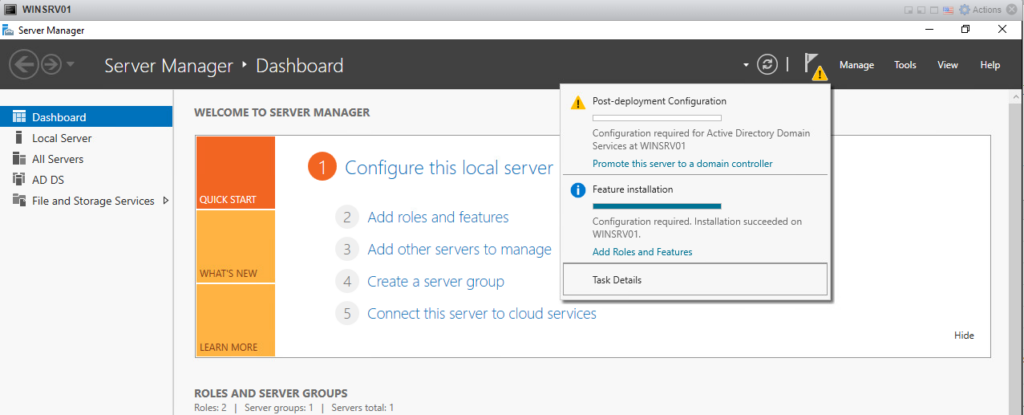
when the service installation is over we still need to promote the server to a domain controller persona. just make sure you are working in lab environment, trust me, we don’t want to miss with a running network.
Next: we need to setup our internal domain name. this is a fresh installation so check “Add a new forest”
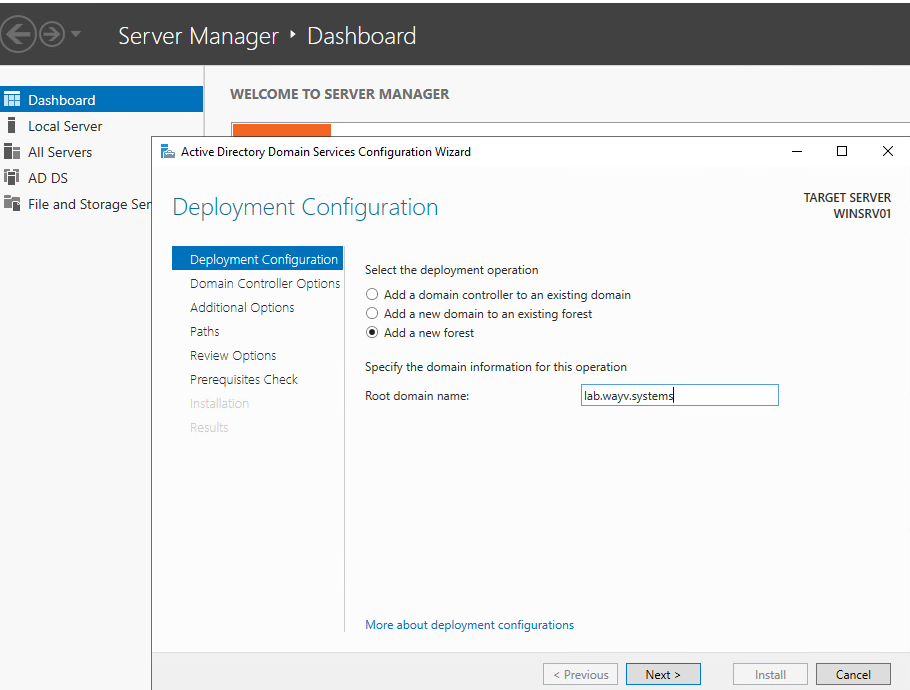
Personal note: avoid using domain.local this will cause a lot of trebles with MacOS
Next: create a DSRM password and click next
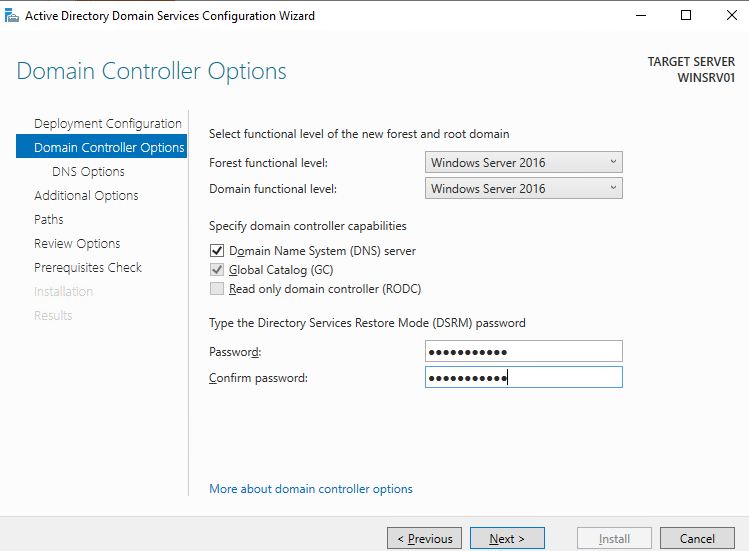
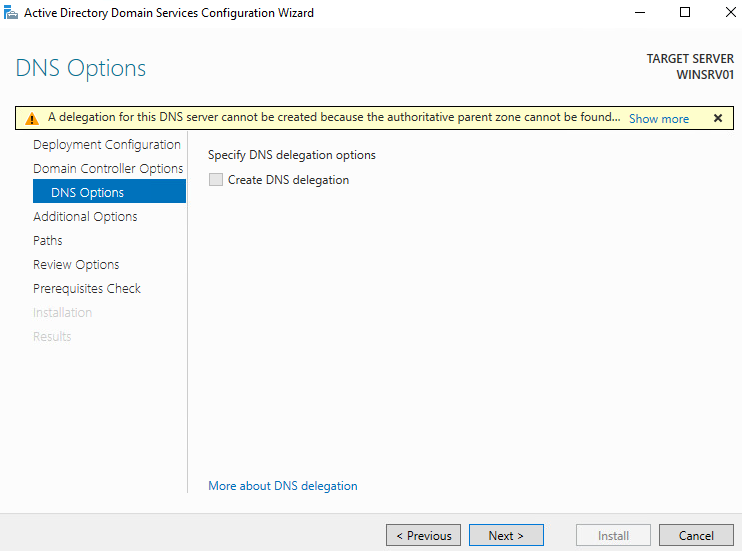
the Domain controller requires a DNS server installation, in my lab the DNS and the DC will be installed on this server, I’m leaving the box unchecked.
Next: accept the auto-generated NetBIOS domain name if you like and click next.
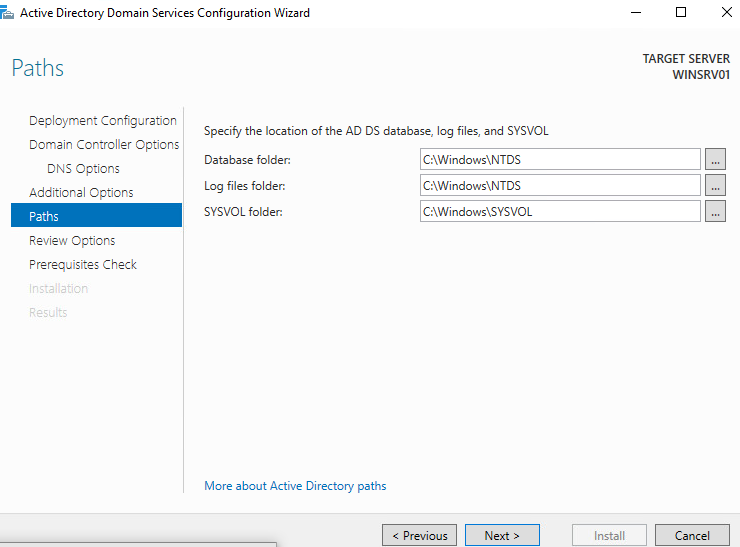
Next: just leave things as default and click next, on the next screen we’ll review the entered option and confirm the DC installation
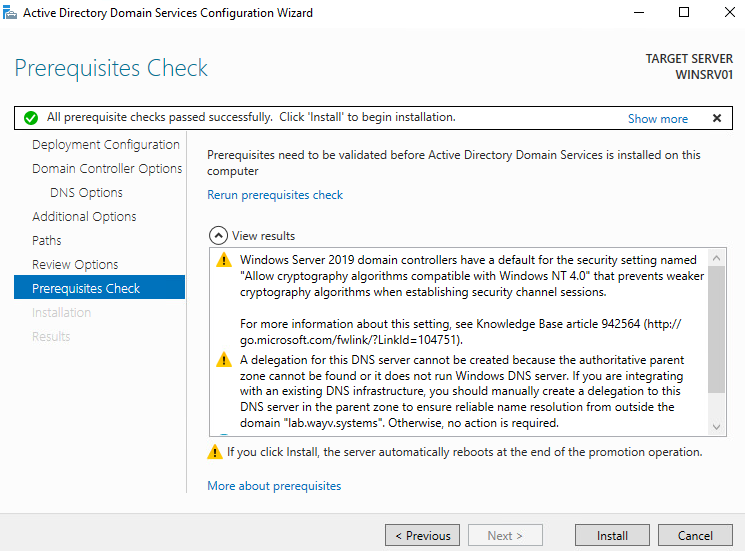
windows will do some prerequisites check at this phase don’t bother the yellow alerts, click install.
Get yourself a coffee or water or just workout while the server role is being installed and rebooted.
Congratulations! we have our active directory and DNS server running. the next steps are optional, Here is some tweaks:
- configure the DNS on the NIC to point to the localhost
- configure the Forwarders on the DNS server
open DNS Manager>> right-click on the servername>> Properties >> Forwarders. then add your preferred DNS
